Showing posts with label Painting. Show all posts

Saturday, 13 August 2011

The dreaded [War]-Jack Frost strikes again.

When the pictures of my new Space Marine Dreadnought were being taken, the model had not been varnished yet, due to a period of wet weather in up here in normally sunny Scotland (yeah, I know!). Finally I looked out of the window one breakfast time last week and saw it was dry and sunny. Excellent! So I rushed out to give the piece and quick coat.

The dreaded frost

Unfortunately, it would appear that it was still to damp or cold or at least clammy, as the dreaded varnish frosting hit my smooth clean paint-job. Now I've experienced this before on my Warmachine Slayer last year, so I was disappointed but not panicked by the prospect of trying to get it back to some sort of fit condition.
After a coat of gloss Varnish

So first job - hit the effected areas with some gloss varnish. This is what I did last time, and it fixed most the problems. This time - not so good. It has improved some areas, but not all. The effect is more visible, ironically, because of my simple faster paintjob, as the imperfections show up on the simple flat surface more. On the areas with more variation (such as the scroll on the left leg) the effect has decreased enough for me to leave it. I will however try a "Plan B" for the front surface, as it is most evident there and if the need comes to repaint it's just a coat of blue!

Post nail polish remover
Plan B is nail polish remover on a cotton bud. As you can see it seems to have taken most the varnish off and some of the paint. This is why I have shyed away from applying it to a more detailed area. It's still a little rough though, so some light sanding will be needed.

Repainted
I did a small amount of light sanding (with some wet & dry paper) but the finish was still a bit rough. I stopped there anyway and re-applied the blue paint. Not as good as the original silky smooth finish, but alot better than I started out with, and should be fine on the table.

Sunday, 8 May 2011

Exeter Legionary

As regular readers know, there’s nothing I like better than getting in a car and driving up a dual carriageway for an hour to spend all day in a cattle shed with like-minded gentlemen before driving home again.  This weekend was no exception as I journeyed to the frozen north (Exeter) to participate in, and bring a bit of class to, the Legionary 2011 wargames event.


In fact, before we go too far, don't forget you can still win a copy of the latest Unseen Lerker magazine featuring my own article on Frugal Gaming, see the last post for details.  But hurry, you only have a few days left!


Anyway, this was the third year that I’ve visited Legionary, and it’s the third venue in that time.  There were a few criticisms of the layout last year for gamers (I didn’t participate in the tournament so I couldn’t say) but this year the venue was pretty good.  It was in an agricultural auction house on the outskirts of the city, though was nowhere as bad as you may imagine.  The large open space meant that all the gamers were in with the traders which created a good atmosphere and lots of people were wandering over from the trade stands to watch the games being played.

As with previous tournaments, I met plenty of people.  This included two of my Exeter twitter chums; Domonet and Wartrader (both well worth following) who turned out to nice guys rather than murderous psychopaths, which is always the risk of social networking.  Domonet and Wartrader were running a demonstration game of Infinity which looked very interesting, but I’m currently afraid of taking up another game system as I’d probably end up selling a kidney to fund my ridiculous gaming addiction.  But if you’re on the lookout for a new game then check it out and let me know what you think.  Of course I would be remiss to not give a big plug to Wartrader’s business; so have a look at that as well.

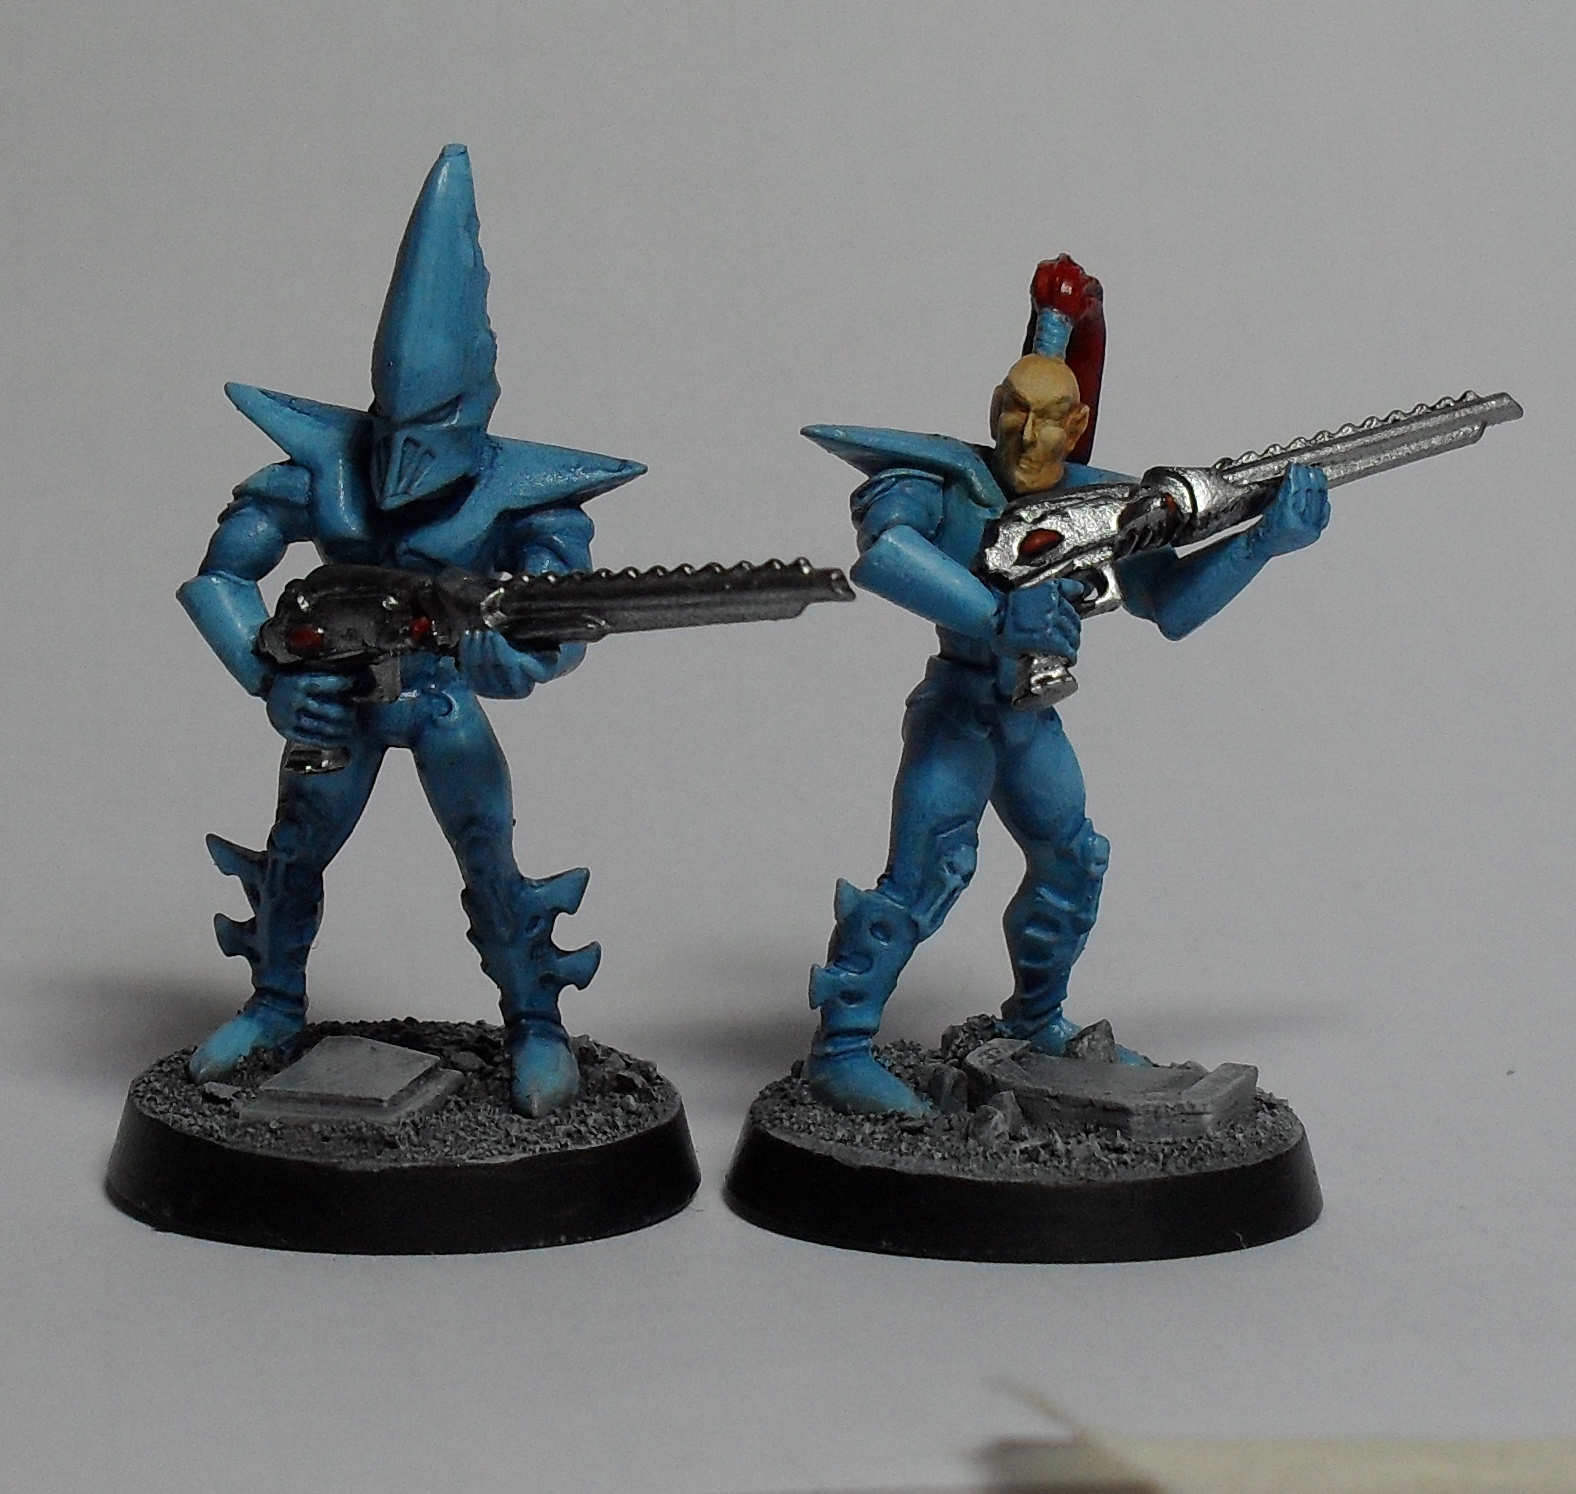
I also met James, who had made the epic journey from Surrey to compete in the competition (for my American readers; Surrey is a separate state, east of London Island, two timezones East of here.  Everyone there speaks like our Queen Elizabeth and drives around in Rolls Royces Automobiles).  It also happens that James’s wife had to travel to Exeter that weekend for work, but I’m sure that's just a coincidence.  James mentioned that he reads this blog (Hello) so I knew he was a man of taste.  As it turned out he also a great looking Warriors of Chaos force, which was one of the nicest painted armies I’m ever seen with my own eyes.  I’m sure that my pictures don’t do it justice, so take my word for it that his ‘Amy Winehouse’ champion conversion was superb. 


"They tried to make me go to the Realm of Chaos, I said 'No no no...'"
The bring and buy stall was well stocked and most things seemed to be reasonably, priced apart from the obligatory £100 copy of Space Hulk.  As it turns out, I did end up buying an original copy of the 40k Rogue Trader rulebook.  This was a bargain and was bought purely for nostalgic reasons, it was the first gaming product I ever saw and it opened up a whole new world to me!  Looking back over the badly rendered Space Marine drawings and crudely painted miniatures would have brought a tear to my eye if it wasn’t for the fact that I'd just sold my soul to Satan to learn to paint like James.

The bring and buy also featured this amazing 5ft long spaceship for £30.  File it under ‘Looks cool, but I’ve no reason or space for it’.


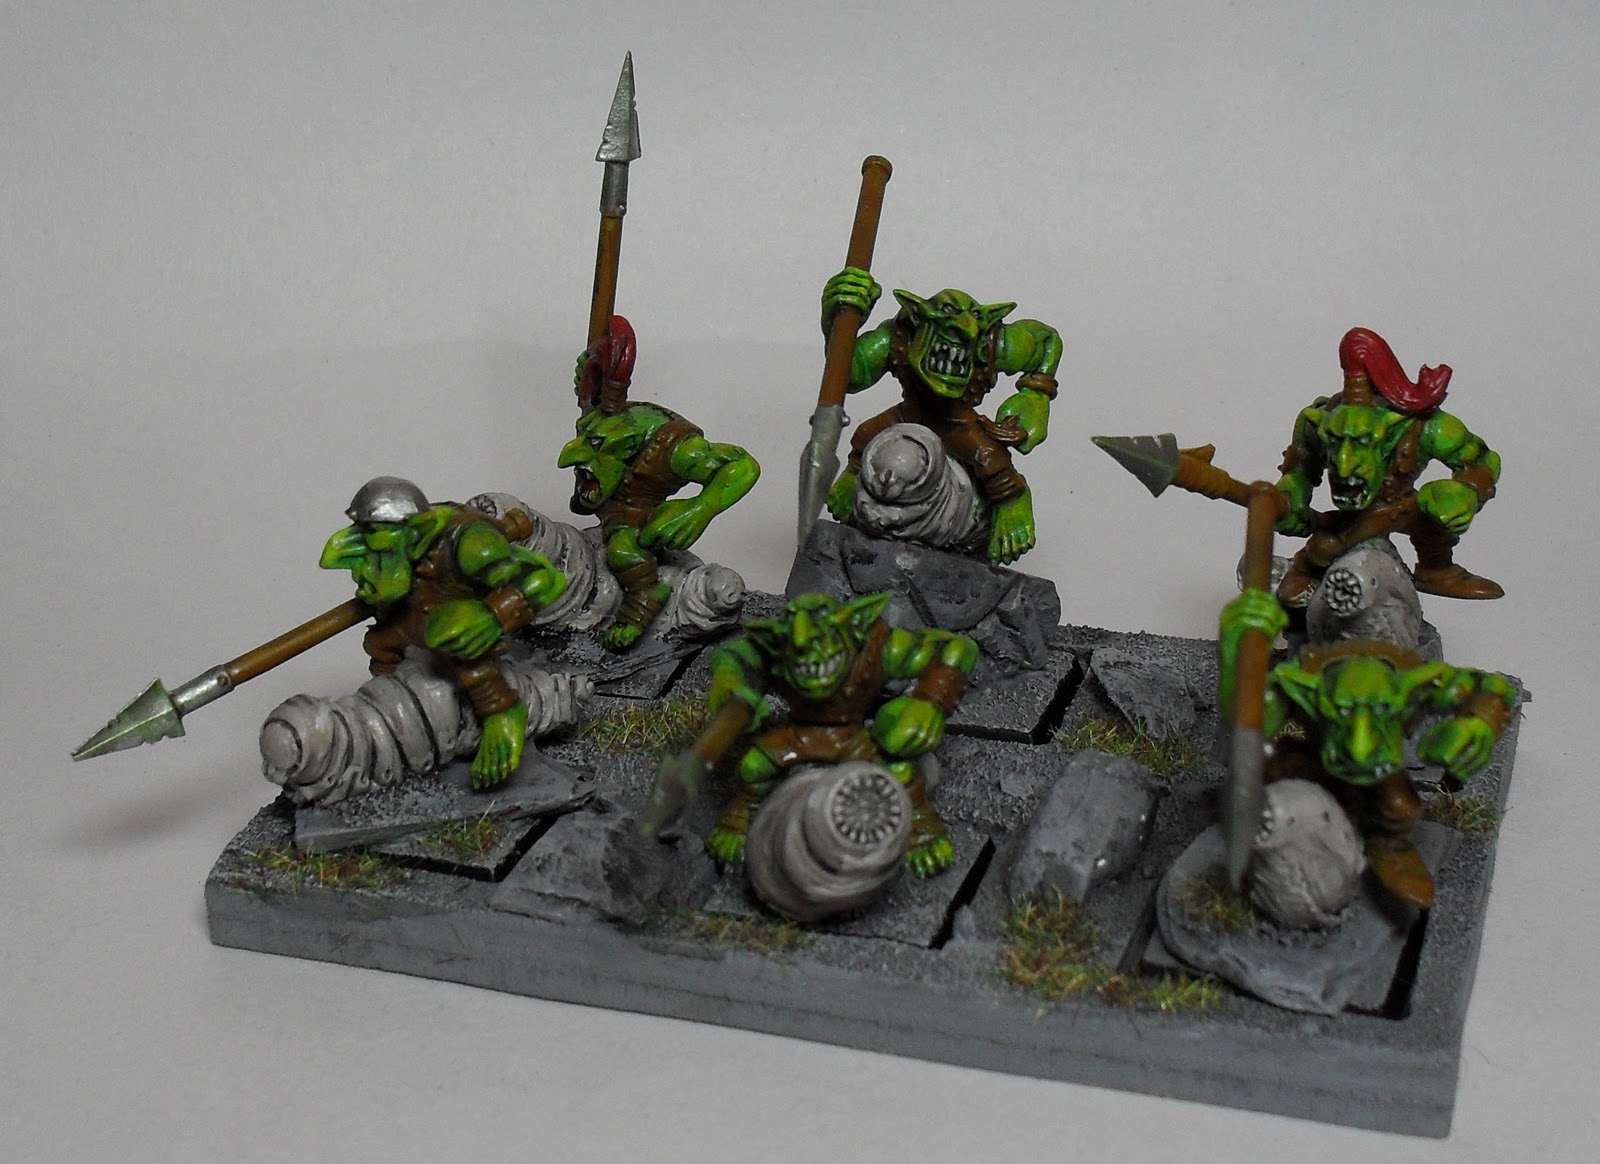
As for my games of Warhammer; I got beaten like an incontinent puppy at a carpet factory.  I did take a few of the enemy down, racking up a few hundred victory points from each game.  My overall ranking was the same as at my last tournament (second from last) but I feel that my game has improved massively in the last few months and I’ll be expecting a win or two next year.

Yeah, next year.  I’ll definitely be back to Legionary 2012 for more, a lot of the guys from the Cross Swords club agreed that it was a great tournament and we’ll be back next year.  Well done to all those who took part in the tournament and a great big ‘THANK YOU’ to all who organised and ran the event.

Happy Gaming.

Wednesday, 30 March 2011

The Lion Roars!

I've returned safe and well from my trip up to Edinburgh last weekend; Mrs Frugal and I had a great time.  Of course, being the frugal gamer that I am, I made sure not to go over my gaming budget for the month whilst I was up there.  However, as I was technically ‘on holiday’ I was entitled to spend some of my ‘holiday money’ and I decided that rather than buying Mrs Frugal something nice or taking her out for a meal, I would buy myself a souvenir to remind me of my time north of the border.

I’d done a bit of research before traveling away and identified ‘Black Lion Games’ as the premier games retailer in Edinburgh.  I left Mrs Frugal picking out boxes of shortbread and went looking for it. 

I finally found it, and it looked like the dodgiest shop I’ve ever seen, if I wasn’t actively looking for it I’d have probably walked right past it.  It looks, to be honest, like a sex shop.  Judge for yourself:

Its well worth the trip though.  It may not be the biggest shop in the world, but it’s got a huge range of stock (miniatures, RPGs, boardgames, cards) and very friendly staff.  If you’re around the Edinburgh area, seek it out and tell them the Frugal Gamer sent you.

Here’s what I found in my hand after I left the shop:

Yes, like so many before me I have fallen foul of the temptation that is Warmachine.  And before anyone starts telling me that Menoth are a rubbish choice (they may well be) I decided on them as a starter force as I fancied something nice and white to paint to give me a break from all the dark and grubby miniatures I’ve been working on recently.  My poor eyes could do with a break.

So there you go, I’ve got some more miniatures to add to the unpainted pile and another set of rules to learn.  Maybe I’ll win some games at this one...

Happy Gaming

Tuesday, 15 March 2011

The Period Drama Challenge

With the inclimate weather hitting Scotland this weekend, I sat Arabiansquire down to continue painting his space marine, having finished his first one a few weeks ago. After 30 minutes he'd done the blue and the guns on a couple of figures before the need for a break and a biscuit. The painting gear was left out, and took the brush down time to walk the dog for half an hour. So imagine my surprise when I returned to find him sitting finishing off his FOURTH figure on my return. How did that happen? He'd used a few speed painting short cuts (reduced palette, etc), but they are painted and will be good on the table.


Now where am I going this? Well I'd spent the marine painting time assembling a trio of old Terminators I've had lying about. Suddenly I'm behind, but "salvation" was at hand. ArabianQueen wanted to watch a Period drama (about Dylan Thomas) that night. So I wondered if I could speed paint the 3 terminators whilst "watching" it - 1hr 45 mins. (Question: why is a Dylan Thomas love triangle film set in WWII a period drama and hence OK to watch whilst Saving Private Ryan isn't and gets the thumbs down? The injustice of the world!) .
Now as this desperate plan was forged a mere 30 minutes before program start I didn't have time to test any colour plans, etc - just grab some paints I thought would work, equip the laptop painting station, pour a large drink and sit down before curtain raise.


Title sequence runsAn hour in
 
  My initial plan was to dry brush the background parts of the terminator and just use the main colour on the most forward sections of the armour. A drybrush of dark marine blue was rubbish. So I repeated with Space Wolf Grey. It also looked rubbish, so I abandoned this plan and went for a covering of Dark marine blue (the clock was ticking) on the armour and Space wolf grey as the base for the helmets (the intention being the helmets would be white) and a white shoulder pad. Next up was hopefully the final colour shade of Space Marine Blue. It didn't take me too long to realise that this was going to be too dark, but in the interest of consistency I painted all 3 termies in it. On the opposite end of the contrast range I also realised that Space Wolf Grey was way too light to pick up the sunken detail of the helmets, so I gave them a wash in blue. Whilst all this was drying some aged gold was applied to the motif on the shoulder. Gun bolt metal was also brushed on the weapons. Time was running out now, and I'd started to run out of options on my rushed palette. The ink wash had dried on the helmets so some white highlighting was done. A quick dash through the house had me "borrowing" ArabianSquires blue that he'd been using for his marine earlier in the day, which I only managed to get on one marine before the end credits had finished rolling. I'd failed!

15 mins to goThe final credits roll
  Or had I?

Well, yes I had. But as compensation after less than 2 hours I had 3 mostly painted Terminators and I had learned some valuable lessons. I was always going to be tight for time from the start. Next time I should convince my other half to watch Gone with the Wind (although that's actually a film worth watching!). Spending so much time applying coats of paint (and the subsequent drying time) did me no favours. Having a rough idea of what sort paint colours you are going to use is no substitute for knowing what paint colours you are going to use. Also, not playing 40k, the models are not very familiar to me, especially all the small details in the sculpts that are not immediately apparent when they are bare metal. All these problems were all symptomatic to the fact I only thought of this with half an hour before the whistle blew.

And just to finish the piece here's a picture of the finished Terminators after about another hours work. No great shakes, but table worthy (see below):


The key to the timed speed paint is preparation. You must know your model, paints and methods. Know where you can save time with a big brush and what parts you can get on with whilst other areas dry. Know how long it'll take to work round fiddly bits or how you are going to tackle them. Know where you can shortcut with washes and a dry brush. With a plan you know will work you can efficiently get the paint on.
 
And to finish, a picture from the following day as both sets of newly painted figures got table time.

Space Marines and Terminators take on the Nekron menace

Sunday, 20 February 2011

Colour Management part 2 - The Good, the Bad and the Bland

The Bad, the Bland and the Good.

As regular readers know, I’m not perfect, aside from spelling errors and horrendous formatting, I’m also a bit rubbish at giving any kind of advice.  You may remember that in 2009 I lectured you all on selecting colours to ensure that your army looked its best.  I then illustrated this point by adding a picture of what I thought were good choices.

The old individual colours; nice in small numbers, but horrible in large groups.

With the release of the new Dark Codex, I decided to finally get round to finishing off my Dark Eldar army (and by ‘finishing off’ I actually mean ‘assembling and painting’).  Anyway, I realised that my exisiting paint schemes looked terrible and I needed something better.  Since getting back into gaming a few years ago, I had primarily focussed on skirmish games (such as Necromunda and Mordheim) where I could focus on each miniature and make them individual.  As I took up Warhammer, I realised that I needed to make an army more uniform, so that it looked better when assembled on the tabletop. 

Casting the individuality of my Dark Eldar aside I stripped off the paint  and began painting them in a bone colour (as shown at the top of the page) to give uniformity and to avoid the generic purple Dark Eldar army look.  Unfortunately, as nice as this colour was, it was quite dull and didn’t show up very well against my grey gaming board.  Dammit.

So after a bit more paint stripping (my flat really is starting to smell like an old people’s home now), I decided to go for something brighter.  Ice blue seemed appropriate.  So here they are, bright blue, easy to spot on the battlefield, and most importantly of all, not purple.
Not the most amazing colour scheme, but not purple.

Happy gaming

Sunday, 23 January 2011

Oh My Gob!

I feel that I've passed a milestone this last week or so.  As many of you know I’ve been working on my Goblin army for Warhammer for over a year now, and progress has at times been slow.  However, over Christmas I made a big push to get it all finished and I’m now pretty much there.  I’ve got 2400pts worth of greenskins, about 95% of which are painted to some degree.
Now I’m not making any great claims to my painting or modelling skills, but there are a couple of bits and pieces that I’m quite happy with.

Night Goblin Big Boss on Gigantic Spider

Squig (Maggot) Hoppers

Fanatics

Squig Herd

Rock Lobber Crew


Rock Lobber
There's still a few little bits to get finished, like basing and a couple of coats of matt varnish.  But, like the semifinals of a TV talent show, the pain and suffering is almost over.

When I started assembling the army, my intention was to build a full Night Goblin Army.  I didn’t do this for a couple of reasons, the first was that in the job lot of gobbos I bought there were a load of orcs that needed using.  Secondly, after getting spanked numerous times, the addition of a few bigger meaner warriors couldn’t hurt.  I’m still losing games, but at least I’m taking a few of the enemy with me.

I’ve played about a dozen games with my army and found it to be fantastic fun.  Magic is pretty powerful; the greenskins have their own miscast table, and the infamous 'Staff of Sneaky Stealin' which adds one of your opponents power dice to your dispel pool.  The animosity rule does mean that units can go running off on their own or just plain refuse to do what you ask which can be like herding cats, but then I like cats, so that’s okay.

From a Frugal point of view, I think I've managed to put together a good, fun army for a reasonable price (about £100 in total).  I've already had a year's worth of fun painting and modelling it and I'm sure I'll have many more years of entertainment (and disappointment) playing the army.  Well worth the investment.

Happy Gaming (and don't forget to follow me on twitter)

Saturday, 8 January 2011

Advice Dog Approves: two things to do with blister packs when they're dead

Hi folks; just a quick one (as I'm messing about with Tyranid colour-schemes today).

Dethtron, stealer of thunder that he is, has started up a series on Gaming on a Budget over on the House of Paincakes. His first instalment went up this week; a set of ideas on things to do with the blisters from your blister packs. Be sure to click that first link at least once a week - in fact, go and do it again now, don't worry, I'll wait - for more crafty tips and fiddles.

As a companion piece, I might go so far as to recommend this piece by the Master Manipulator (every store needs one) on using the foam from blister packs to make a wet palette (something I should probably be doing, given the speed at which the GW Foundation paints dry) without accidentally drenching the author of Lurking Rhythmically.

Right. Back to sorting out those Tyranids. For some reason I can't settle on a colourscheme for them; I blame all that Punk Art.

Sunday, 26 September 2010

Building a Catapult... Sorry, Trebuchet.


Hello my fellow geeks.  You may remember last week I mentioned I'd been busy gaming, painting and building models.  This time I thought I'd show you one of the tasty fruits of my labour, namely a goblin catapult...
Sorry, it's a trebuchet*.

Being a tight arsed frugal gaming type, I didn't want to shell out for the Games Workshop Rocklobber for my Goblin Army, so I decided to make my own from balsa wood.  As usual I started off with a few sketches, which I then promptly ignored.

Wednesday, 11 August 2010

Time For A Quick Wash

They say that time is money, so I thought that a tenuous enough link to be frugal with time - a post about quick painting with inks and washes. Now as ever I must say that I'm no expert painter, and this method of painting is truly the mother of all fast painting techniques so your not going to win any prizes. But for quick naked to tabletop colour it's very satisfying.

Before we start your going to need your inks and washes. I've collected a few colours now for a reasonable variety. I don't want to waste time mixing colours if I can help it. The aim is to do one quick coat and thats all.

As I've been playing a bit of Heroquest with my son recently I am using the Adventurer minis for an example. Usually I just paint the same type of figure to minimise colour changes between figures, less colour changes meant less time! So this will be a comparitively slow job.

The process can basically be boiled down to 4 steps: White basecoat, skin, clothes, metal.


Step 1: White basecoat.

It has to be white otherwise the colours won't show!
Step 2: Skin

Next job is the skin. Get your skin wash (I've used Vallejo skin wash here) and apply it to the exposed flesh areas. Once this is done give the still wet wash a quick dab with your finger, being careful not to put your now inky/washy print on the pristeen white on the rest of the mini. This adds a slight highlight to the raised areas. Don't use a tissue as this has a tendency to soak up some of the wash from the non-hightlight areas, which we don't wont.
Step 3: Clothes.

Let the skin dry, and then your chosen apply colours to the other parts of the figures. Have a reasonable amount on the brush, as we want dark pools of colour in the recesses, but the ink/wash should sit more thinly on the raised areas, automatically giving you a highlight that would be missed using conventional paint. As ink takes longer to dry than your normal paint do one colour on one mini then move onto the next to give more drying time. Also try to colour areas of the mini that are not adjectent to each other, as this lets you keep progress moving along without risking the inks running into each other at the junctions. Multiple layers of ink (either when the first one is dry or wet) can produce some intereting effects if you fancy. As a note I ink chainmail black in preparation for Step 4.

Step 4: Metal.

Get your metalic paints and paint the metal areas of the figure. No, no - stop shouting "cheat" ( I'm listening to Slayer on 11 so I can't hear you anyway!). I said it was using inks and washes - I didn't say excusively. As these are for Heroquest (ie a bright high fantasy setting) I just leave the metal bright and shiny.

And voila, a painted base and good to go. With all these being individual minitures the colour differences and model changes really ate up the time. These actually took a comparitive while to colour - just about 2 hours all told (under 30 minutes each). To prove my own earlier point I afterwards inked the 4 goblins below, which came in at a much more reasonable sub 45minute time (I wasn't using a stop watch, OK?).

Like I say, not award winning, but on the table in quick time with a reasonable appearance.
 
Have fun.

Thursday, 29 April 2010

Building a Ruined Defensive Wall - Part 2

A couple of weeks ago I started explaining how to build a ruined wall terrain piece, in this post I’ll carry on with my method; sculpting and texturing the base, and painting the finished piece.  Details of the tools and materials I used are included in the first half of this post.


Sculpting the base and finishing the walls
To landscape the areas between the walls and the base, I use expanded polystyrene, sourced from old packing material.  I cut the polystyrene roughly to shape using a hot wire cutter, this was then glued in place using wood glue (PVA works just as well) and plaster was used to fill any gaps.

The next step is to finish off the walls.  As I used blocks to create my wall, there were small gaps between some of the blocks which show up when the model is painted and can ruin the overall effect.  To fill these gaps I mixed some plaster with a lot of water to get a really runny consistency and paint this liberally all over the model.  It runs into the gaps, filling them nicely; a little bit of detail is lost, but overall the look of the wall is significantly improved.

When all the plaster has dried, it’s time to texture the base.  This is really easy (and pretty fun); mix up some plaster along with PVA glue, sand and fine gravel then paint it all over the base up to where the ground meets the walls.  I also painted a bit of this mix onto the floors to represent rubble and dirt from the collapsed walls.

Painting
I primed using grey spray primer, the main reason I use this is that it can be picked up for £1 a can, though it also gives good coverage and I prefer painting over grey than a black primer.


For the main painting, I went for cheap emulsion paints (remember this is a Frugal Gaming blog!) for the base and walls, with cheap acrylic used for drybrushing and painting the floors.  I gave the finished model a quick dusting of light brown with my airbrush to age it a little and bring all the colours together before adding the vegetation.

As this was a big build, I used a couple of different types of flock in patches and even added some long grass in various locations to break up the long walls.  This really added to the final look of the model and was well worth the couple of pounds I spent on different grasses (hey, I saved money on the paints, okay?).


To finish off the model I gave it a good couple of coats of satin varnish to protect the paintwork, seal the flock in place and ‘flatten’ the colours.  Giving a terrain piece like this a coat of dull varnish also stops any cheap paints that were used from shining.


Results
I'm very happy with the finished model; it looks good, it can be played on, it’s hardwearing and most importantly it didn’t cost much to build.

As this is a simple model, you can add as much extra detail as you like depending on your own personal taste, I decided to leave it relatively plain to allow it to be used for fantasy or sci-fi games, plus theres fewer pieces to get knocked off when moving it about!

Once again, thanks to Doctor Merkury for the inspiration and letting me steal his idea.

Sunday, 25 April 2010

Penny-Pinching, and Picking Perfect Paints

I’ve been on a painting spree recently, trying to get my Dark Elves painted before the end of the year. I’ve also realised that this is a bit of a long shot, but it won’t stop me trying! I’m one of these people who appreciates the skill of someone doing a great job (as Dave mentioned last week), but I just have to do it myself.

My painting method is to take all the models of a particular type or unit, and do them as one enormous batch. There’s normally two or three different groups, at various stages, all nicely arranged and separated by paint pots to show what I need to do next. When painting a Wood Elf army in one go, this meant 48 archers in my mega-batch (some were halfway done while others were still being assembled!) and currently, I have about 60 corsairs. It’s a bit daunting at first, but it’s nice to see them all progress along slowly, then at the end the final details go on incredibly quickly – usually a tiny spot of colour on each model, and a dozen can be finished in a few minutes. The satisfaction as they are all finished together is brilliant, and because I do them all together they are all almost identical in quality and style.

Because of this, I tend to follow other people’s guides (often Games Workshop) on how certain things should be done, if I like their style of (for example) sea dragon cloaks, and I’ve not painted something like that before. I’m not confident about my ability to pick colours well, and I’m definitely not sure about which paints to use to produce a certain layering effect, or what base paint for a certain output.

This brings us, via the scenic route, to a new tool I’ve discovered recently – the Silicon Dragons Color Match 1.0 (and I’m aware of the spelling, it hurts me too). By following guides by Games Workshop, I will only be told what Games Workshop paints I need. I’ve got some colours that have been discontinued, renamed or replaced over time and if I can help it I’d rather use something I already have than buy a new shade of brown, when I have five or six sitting there almost full. I also look at other paint ranges that are cheaper, and wonder if any of their colours match the ones the guide tells me to use.

image The Colour Match tool from Silicon Dragons is free, and allows you to match two different paint lines to see what paints from one company match the paints of another one. In many cases, it’ll show several possible candidates and you can eyeball a match and say ‘well, it’s a little less red than I need, but I can mix that up.’ Even better, some shades (but less than I expected) are dead on exact, and a good shot to replace a more expensive line with a cheaper one.

The match data is collected from volunteers across the world, anyone is free to post in a sample to be incorporated into the tool’s database as long as they follow certain guides. This helps take an average of batches which may leave the factories in identical pots but have a slightly different composition. It all gets a bit technical for me.

The only ‘gotcha’ I found when using it (although it appears to have more options now I go for a screenshot!) was that I had to research the paint lines I looked at to tell whether or not they were for air paint spray gadgets. I found uncertain advice that they should be OK for regular brush painting, but were pre-thinned for the spray application so possibly less strong a colour? I couldn’t really tell.

Regardless, this is a great tool for frugal painting, since it is free (frugal already!) and can help find a cheaper alternative to recommended paints if you, like me, are slavishly following someone else’s recipe. It’s also a great tool for frugal gaming, since it will help encourage painting and painted models always outperform unpainted ones. The dice can tell.